7/26/10

Make Custom Labels Like These To Reduce, Reuse, Repurpose and Recycle Containers
I used a free graphic from The Graphics Fairy
To Make These Vintage Style French Labels. 
 I Added The Words and
Changed The Sizing in Photoshop.  I Then Printed Them On Cardstock and Used a Rubber Stamper To Add The Special
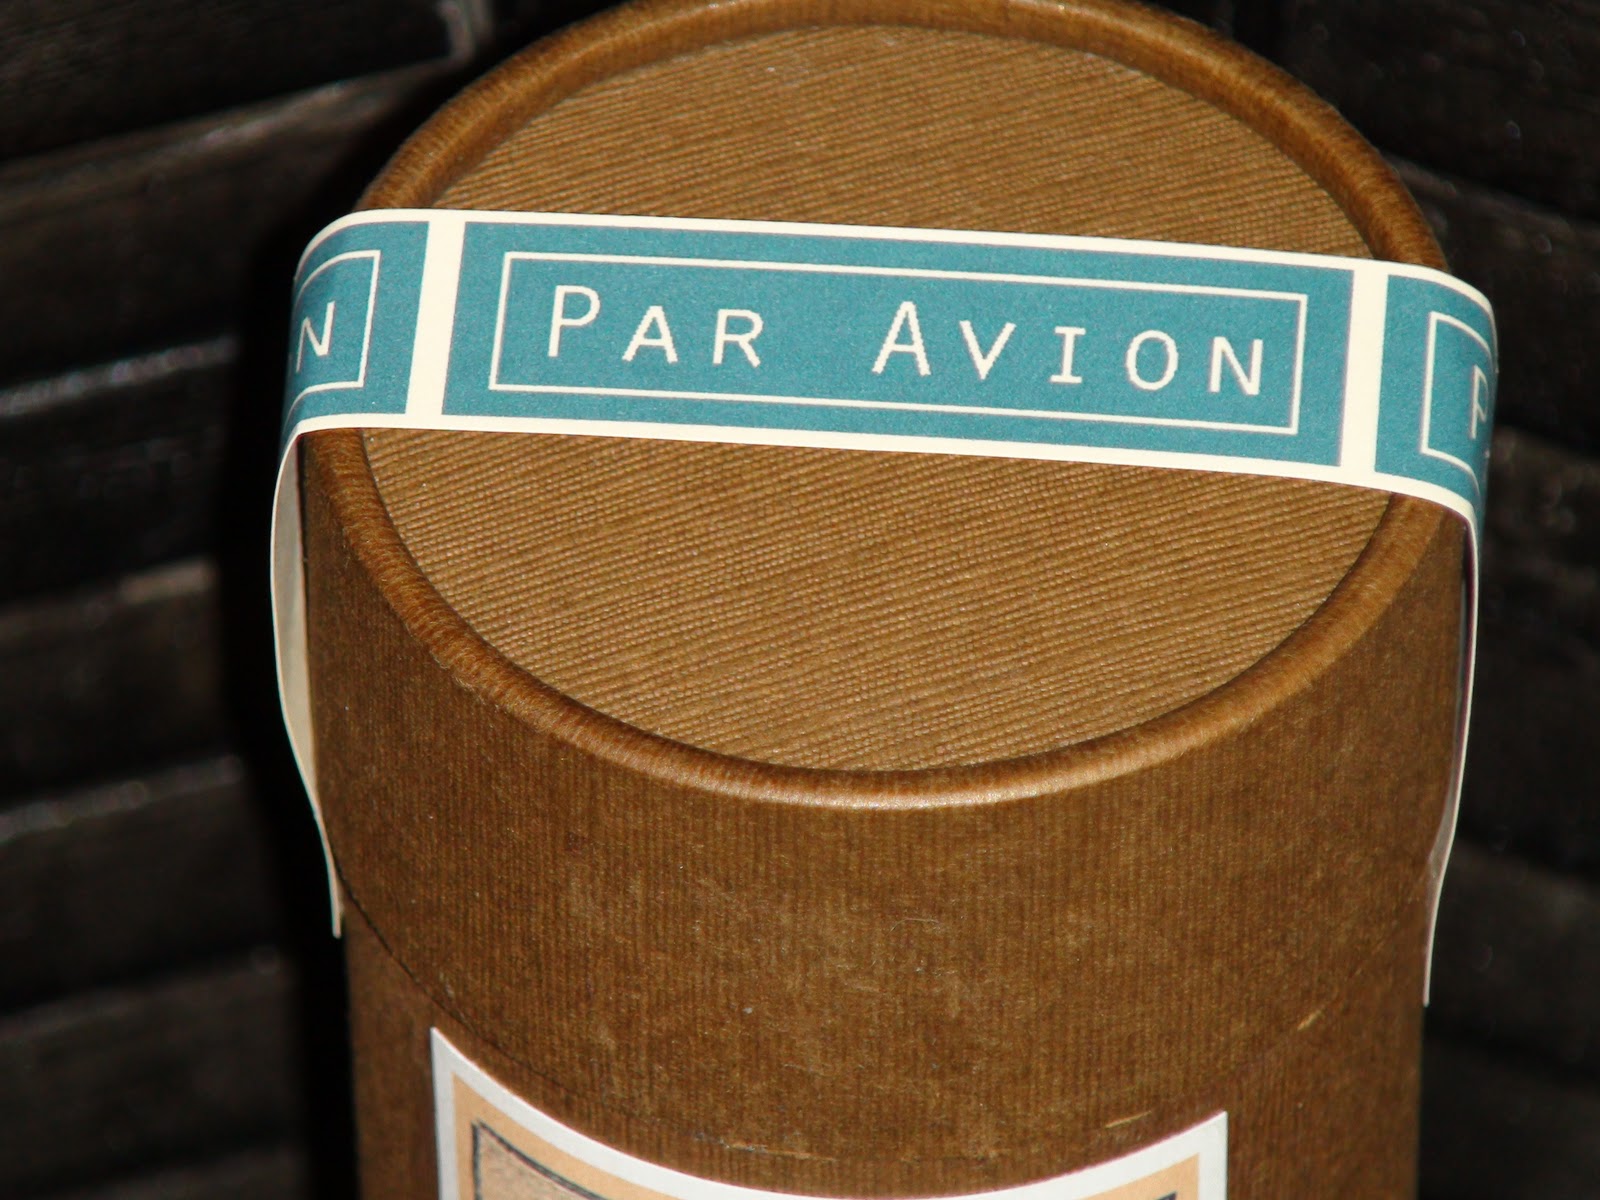
Delivery Notice.   The  Par Avion Tags
Were Made Using Photo Shop Also.
I Used The Par Avion Tags As A Strip  Sealer
  For The Boxes
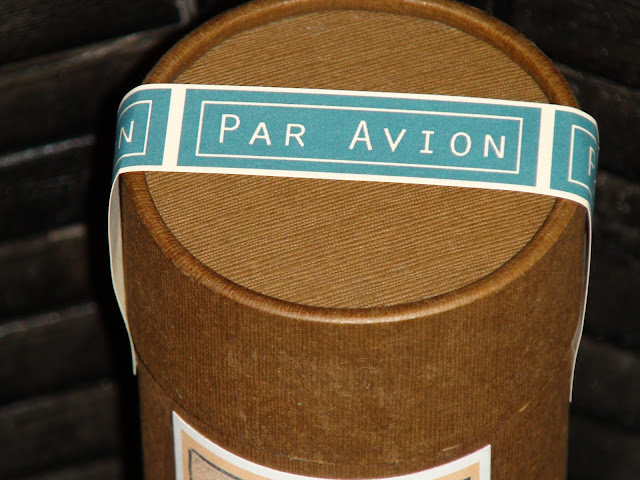
And For Closing The Top Of The Cellophane
Cookie Bags
I Had Been Saving These Containers
To Repurpose Them For Packaging For Gifting. 
These Containers Were Originally
From Starbucks and Came With Mixed Fruit and Nuts In Them.  The Incense and Cookies I Put In These Boxes Were Put In Cello Bags First and Then Put Inside The Boxes.
These Labels Were Great For Incense Gifting
 And Cookie Gifting
My Next Project Will Be To Repurpose
This Black Bottomed Box That Tea Came In.
For Those Who Would Rather Purchase Labels and Not Make Their Own, I Will Be Offering These In My Etsy Shop. 
They Will Be Available As A Set Of 4 Tags With 4 Par Avion Strip Tags,  and Can Be Made With Your Specified
Custom Wording On Them
And You Can  Specify The Size You Need For
Your Repurposed Containers
Click HERE to see my Etsy Listing for This Label Set
Today I Will Be Linking This Post Up To
Brag Monday at The Graphics Fairy
Thanks For Stopping In Today At Visions Of Bliss....
Let's All Make A Difference By Remembering To

REDUCE.......REUSE......REPURPOSE......RECYCLE

Until next time....I wish you Peace....

7/23/10


I Started To Think About This Title For Today's Post and Thought...Wow...I Have Always Loved The Fragrance of Fridays....You Know what I Mean...You Can Smell
 A Weekend Coming On ! HaHa!

But...... That Is Not What I Meant by
A Fragrant Friday this time...
No,  Actually I Meant It Literally.  Today Is Actually
Fragrant.....You May Ask Why...
Well, Because Today  I Am Going To Show You How To Make
Incense Cones and Sticks.......Like These...
.....And Yes....Because Of This Project
My Studio Does Smell Very Fragrant This Friday!
So Let's Get Started Shall We?
For This Project You Will Need The Following Supplies

*  DPG (Dipropylene Glycol)
*  Fragrance Oil
*  Unscented Incense Cones And Sticks
Container To Put The Incense In For Soaking Up Oils
Newspapers and Paper Towels
Containers To Store The Finished Incense Cones and Sticks
The Above Items Marked With An Asterisk can be Purchased Online HERE or At Many Soap and Candle Suppliers.

Step 1
Put 1 part Fragrance Oil and 2 parts DPG into the container you will be soaking your unscented incense cones and sticks. 
(I used a bathroom dixie cup to measure these portions out.)
Step 2
Add cones or sticks to the liquid you just measured out, making sure that all of the cones or sticks are completely covered by the liquid.  Let the cones and/or sticks soak in this liquid mixture for 3 to 4 days.  I soaked the sticks for 3 days and the cones for 4 days.  The reason for the difference is the sticks are much thinner and take less time to soak up the oils, but the cones are thick and need more soaking time. 
 (By the way I soaked the sticks in a piece of foil that I had tripled and made into a long box shape, sorry I forgot to take pics of that.  Make sure this "box" is put on a newspaper lined cookie sheet or box lid as some of the liquid could seep out a little.)
Step 3
Layer the newspaper and paper towels on a cookie sheet or box lid.  Take the incense cones and/or sticks out of the liquid and lay them out in a single layer on the paper towels to dry for about 2 - 3 days. 
 (Save the leftover liquid, it is reuseable for making more incense.  Make sure you store this liquid properly labeled and in a container with an airtight lid.)
Your Incense is now ready to use! 
Store your Incense In A Zip Lock Plastic
Bag or Cellophane Bags
I made labels for the above and below containers for storing my cellophane bags filled with incense.
I will have more pictures on Monday of How I repurposed some containers like these For Incense and Cookie Gifting. 
Hope you enjoy making some incense, it really is so very easy and lots of fun!  Have a great weekend and...

Until next time.....I wish you Peace...

5/21/10

Like brown paper packages tied up with string

~TAGS~
are a few of my
Favorite Things.

So that is just what I have been designing for the last few weeks.
Like these cute little Purse Tags I made.  I decided to make some with regular words like this one....and with texting abbreviations for an instant personalized message.  These tags would look great on a purse, bookbag or manbag.
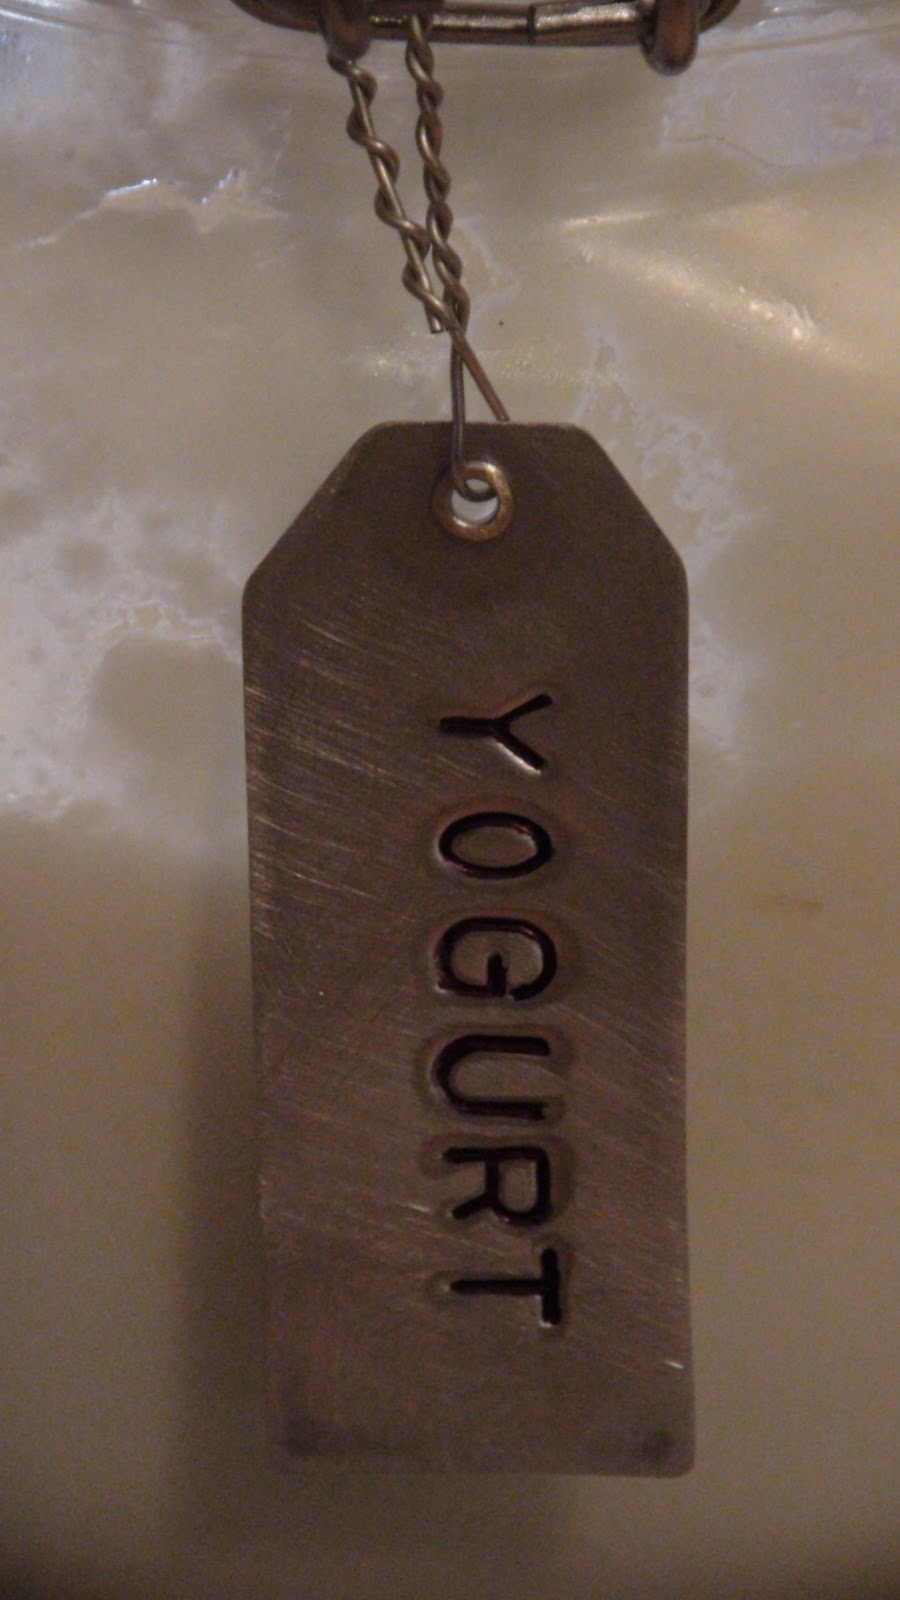
I had been wanting to come up with a contemporary and stylish way to label my glass storage jars so I decided to make hang tags for them too.  I love the way they turned out and it was the perfect finishing touch these glass jars needs.  
These Salt and Pepper containers from the dollar store were exactly the right size for my coffee bar in the kitchen.  I put cinnamon and stevia in them and made these tags to identify the ingredients.   It makes it so much easier for my guests to find what they need when getting their morning coffee.
Of course by this time I had gone completely bonkers making tags for everything imaginable, even my homemade yogurt! 
I even made tags for my storage boxes that had a space for a
 label, but I made  metal tags for them instead.
 With all this tag creating going on I decided to start listing some of these on Etsy.
  So of course I needed to decide how to package my little gems......
This is what I came up with for the Garden Tags I showed you earlier this week.
I grabbed a great picture from the Graphics Fairy  and printed 3 across using the "wallet" size printer option, then cut them long with the blank space below each picture for the bottom.  After punching holes for the stakes to go through I slid them into cello bags for that finishing touch! 

Simply styled, Professional looking and Functional.  I am already dreaming about and working on other great packaging uses for some of The Graphics Fairy's artful freebies.  I'll be posting those up soon.

Thanks for stopping in today!  Until next time.......I wish you Peace.


4/10/10

Post Card Sachets With Charm
I had so much fun making these!  I started off with some free graphics I got at the Graphics Fairy.
 (You can get to her site by clicking on the link in the right sidebar.)
I used my printer (a Canon i860) to print the graphics on muslin fabric, (see instructions on how to do this with your printer on my TGIF page) then sewed a back on and stuffed them with lavender buds. 
Loved the way the first one turned out so just had to make another one with a little different design.   
The charms are made from real stamps that have been sandwiched
between two pieces of 1 X 1 inch glass that I then soldered together.
This is the back side of the charm.
Simply Charming....don't you think??
I thought these would make a great gift for Mother's Day!  Two gifts in one, a charm for a necklace or bracelet and a sachet to set out or tuck into a drawer or closet. 
Don't forget to check out the TGIF page (at the top of this page) for how-to instructions for printing on fabric using your computer printer.  Until next time......I wish  you peace.....